Back in June, I visited a special educational needs center in Connecticut to deliver Clicker training with one of my co-workers. While she delivered the training program, I was able to spend time speaking with the 30+ teachers about the ways in which they are using Clicker, as well as the kind of things they would like to be able to do. One topic that came up several times was the idea of having a customized picture library for Instant Pictures, the Spell Checker, and the Predictor.
When we showed them how to set this up, they had lots of additional ideas for more libraries that they were going to create:
- Photographs from around the center, enabling students with Autism Spectrum Disorder to use real, recognizable pictures of their surroundings
- Specific symbol libraries for individual students
- “Disposable” libraries of photographs taken during school field trips
If you would like to use custom picture libraries in your setting, here are the steps:
- Gather your pictures together in a folder and name each picture as you would like it to be searched for, e.g. tree, boy, lake, car, etc.
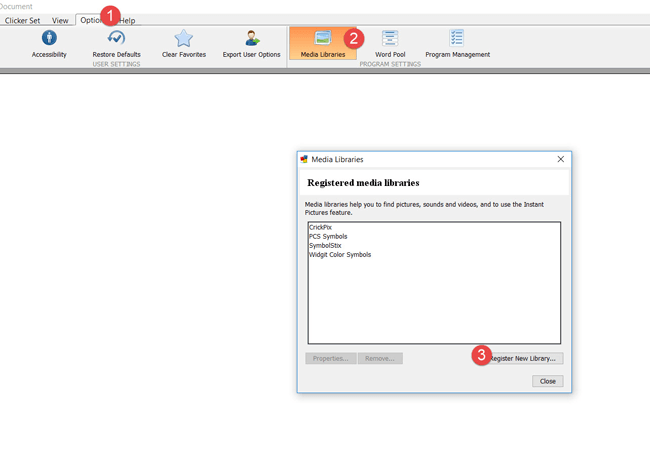
- Go to Options > Media Libraries and select Register New Library:
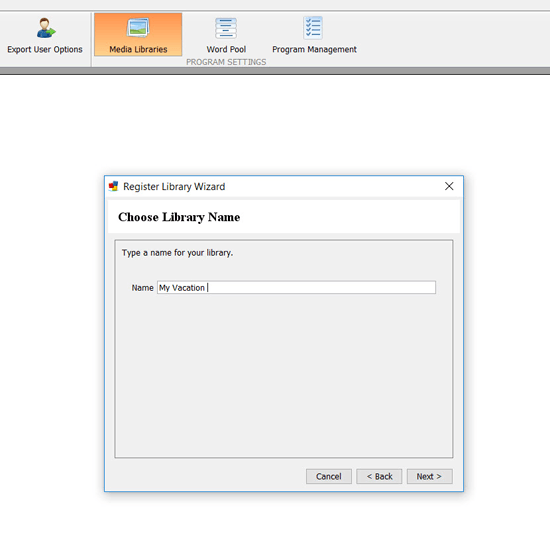
- Give your library a name, e.g. My Vacation:
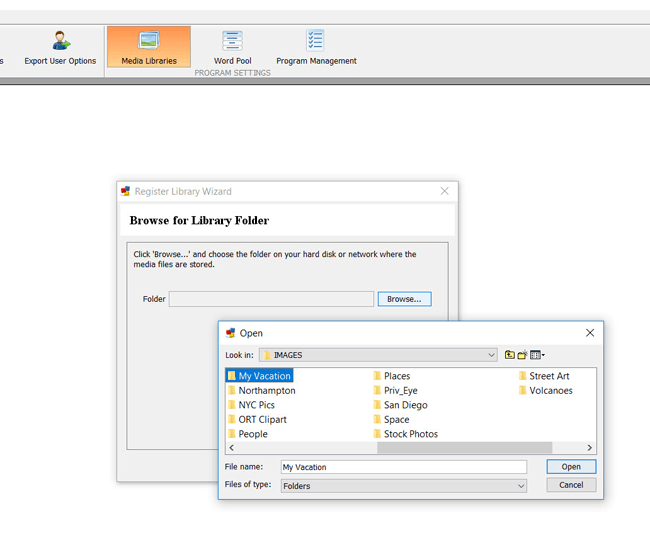
- Browse to the folder location:
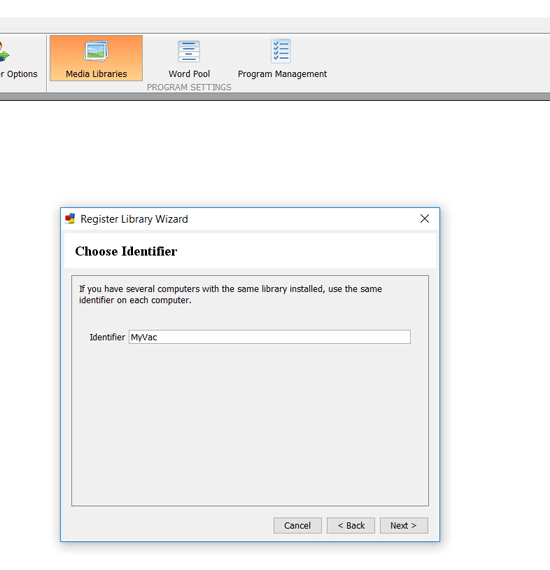
- The wizard will suggest an identifier – accept the suggestion:
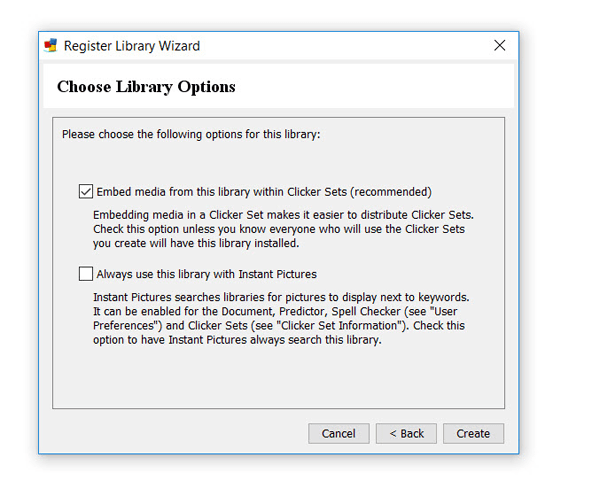
- Leave the default settings for the Library Options:
- Check the Instant Pictures options you want to use – In the Document, In the Spell Checker, In the Predictor:
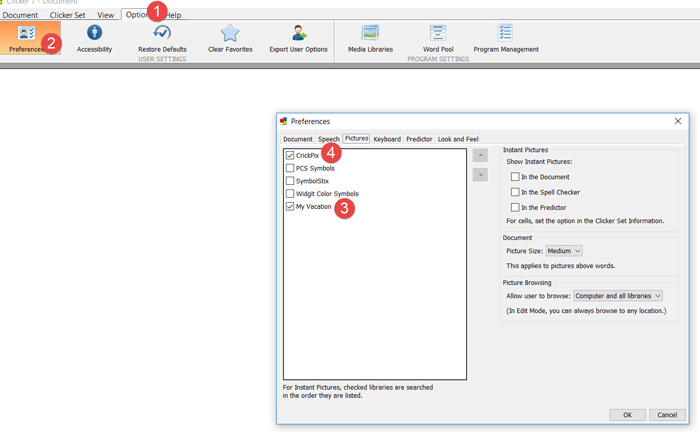
- Check the box for your new library. If you only want pictures from this library used in Instant Pictures, the Predictor, and/or the Spell Checker, uncheck all the other libraries in the list.
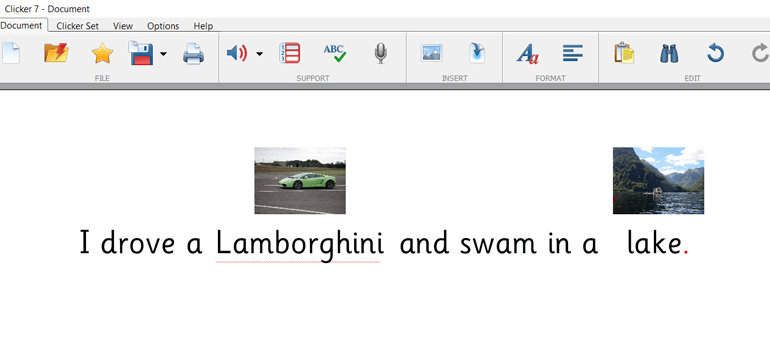
Now you can try out your custom picture library! Start typing one of the words that you have a picture for and it will appear in the document, like this:
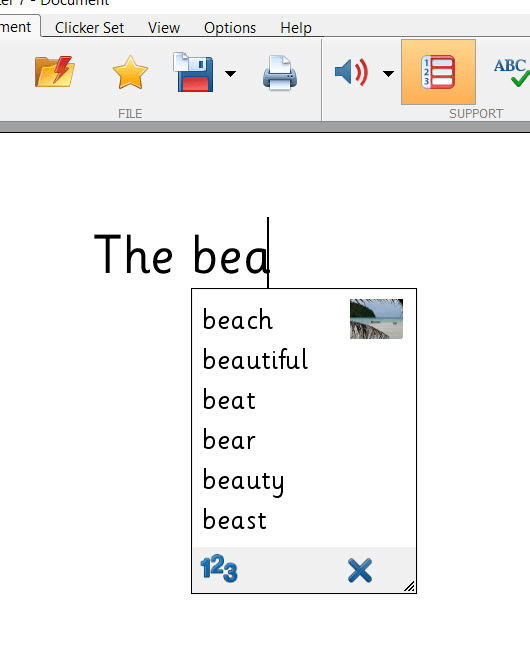
Now, try the Predictor:
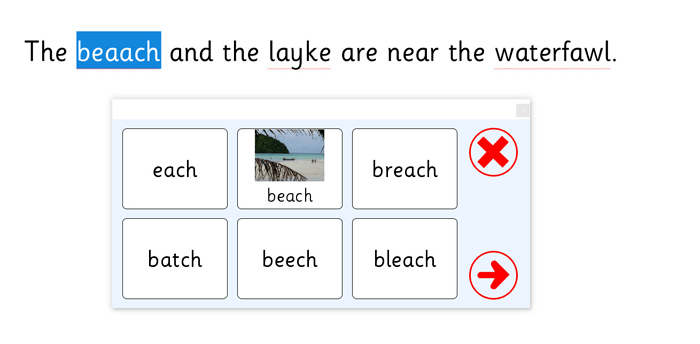
And finally, the Spell Checker:
